Let’s keep this real and straightforward.
Website development is the process of planning, building, and maintaining websites. It involves both the front-end, which users interact with, and the back-end, which handles data and server operations. Website development has become an important skill for businesses and individuals to build an online presence and share information.
Ever looked at a website and thought, “How do people even make this stuff?” You’re definitely not the only one. It might seem like some sort of digital trick—but truthfully? It’s a clear process that anyone can understand.
You don’t need to be a tech expert. You don’t need a special degree. Just bring a little curiosity, a bit of patience, and the willingness to begin.
Let’s sit down together, take a breath, and explore how websites are made—from a blank page to something you can proudly share.
What Is a Website, Really?
At its heart, a website is simply a group of online pages. Each one can include:
- Text
- Images
- Videos
- Links
- Buttons
- Forms
These pages are created using basic tools—nothing too complex. A bit of structure, some design, and simple logic is all it takes.
The Two Sides of Website Development
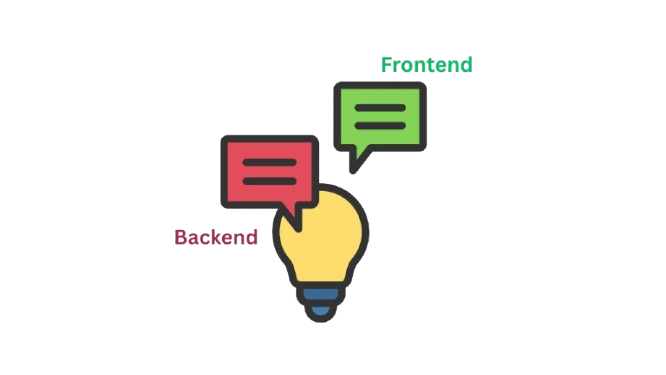
Think of a website like a house.
One part is everything visitors see—the paint, walls, and furniture. That’s the visual side, or frontend. The second part handles everything behind the scenes, like plumbing and wiring—that’s the behind-the-scenes side, or backend.
Let’s break them down:
The Frontend (What People See)
This includes all the things users see and interact with when they visit a site:
- Headings and text
- Layout and colors
- Images and videos
- Buttons, menus, and forms
The main tools here are:
- HTML – builds the basic structure (like a frame)
- CSS – adds color and design (like decorating the frame)
- JavaScript – adds interaction (like making lights turn on)
The Backend (What Works in the Background)
This part handles things that happen quietly in the background, like:
- Saving form details (e.g., name, email)
- Managing logins
- Talking to a database
You’ll need tools like:
If you’re just starting out or building a basic site, you can skip the backend for now. Focus on the frontend—it’s more than enough to begin.
Step-by-Step: How Websites Come to Life
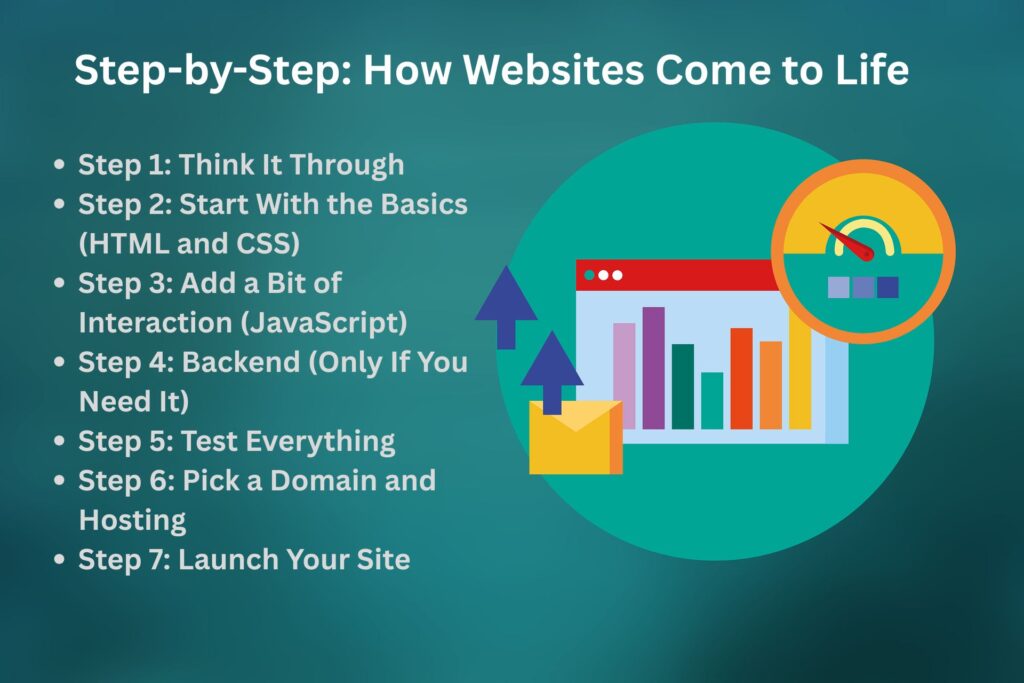
Step 1: Think It Through
Before you open any tool or write anything, take a moment to plan.
Ask yourself:
- What’s the purpose of this site? (A blog? A portfolio? A small business?)
- What pages will I need? (Home, About, Contact, maybe Gallery?)
- What colors or vibe do I want?
- Do I need anything interactive like a form or login?
You can sketch your idea on paper or use tools like Canva—whatever helps you shape the vision.
Step 2: Start With the Basics (HTML and CSS)
Now you’re ready to build:
- HTML gives you the base layout—think of it as the bones of the page.
- CSS lets you style it—set background colors, spacing, fonts, and more.
It’s like telling the browser, “Here’s what I want to show and how I want it to look.”
Even if all you have is a white page that says “Welcome,” that’s a solid start.
Step 3: Add a Bit of Interaction (JavaScript)
Want a pop-up? A button that shows a message? That’s where JavaScript helps.
You don’t need to dive deep. Just try simple things like a clickable button that says, “Thanks!” when pressed.
Step 4: Backend (Only If You Need It)
If your website needs to do more (like saving data or letting people log in), then the backend comes in.
That involves:
- Picking a language (like Node.js or PHP)
- Using a database
- Letting your site “remember” things
But for simple sites like blogs or portfolios, you can skip this step early on.
Step 5: Test Everything
Before sharing your website:
- Check it on both phones and computers
- Make sure all buttons work
- See how it looks on different screen sizes
- Confirm links and images load properly
This step makes sure everything feels smooth and reliable.
Step 6: Pick a Domain and Hosting
Your website development needs a space online:
- Domain name – the web address (like yoursite.com)
- Hosting – where your site files live
Some beginner-friendly options are:
- Namecheap
- Hostinger
- GoDaddy
- Bluehost
Or for smaller, static sites, you can use GitHub Pages or Netlify for free.
Step 7: Launch Your Site
You’ve built and tested—now it’s time to make it public.
Upload your files, link your domain, and boom—your website is live!
It’s a moment you’ll always remember.
Handy Tools That Help
Here are a few tools many people love using:
| Tool | What it helps with |
| VS Code | Writing and managing your code |
| Google Fonts | Adding stylish fonts |
| Unsplash | Free high-quality images |
| Figma/Canva | Designing layouts and mockups |
| GitHub | Saving and sharing your code |
Website vs Web App: What’s the Difference?
- A website shares information—like a blog or a menu.
- A web app lets users do things—like post content, log in, or make purchases.
Examples:
- Website: Personal blog, restaurant website
- Web App: Instagram, Gmail, shopping cart
Start with websitesfirst—then grow into applications later if you want.
Final Thoughts: Just Begin
You don’t need to know everything right away.
Start small:
Create a page. Add a title. Change a color. Insert a button. Then link it to another page.
That’s progress.
Building websites is about learning by doing. Every mistake teaches you something. Every update builds your confidence.
You’ve got this.
Quick Summary
- Start by planning your website development
- Use HTML for the basic layout
- Style it with CSS
- Add simple interactivity with JavaScript
- Include backend features only if needed
- Test everything on different devices
- Get a domain and hosting, then launch
That’s how websites are built—from idea to live site.